In this tutorial, you'll learn how to add the embeddable registration form onto a custom landing page. This is a great option if you already have a custom landing page that you want to use instead of the built-in registration pages.
Please note that this feature does require access to the Pro. If you haven't purchased Pro upgrade already and would like to do so, you can access it here:
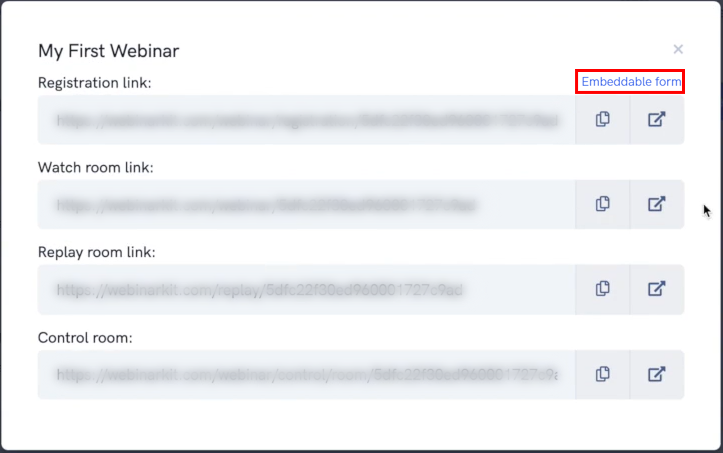
To get started, go to your dashboard, find the webinar that you want people to sign up for, click the drop down arrow and then click "Get links".
When the pop up appears, click the "Embeddable form" link to be taken to the embeddable registration form page.
On the next page, you'll be shown a couple of embeddable forms that you can place on your own pages and websites.
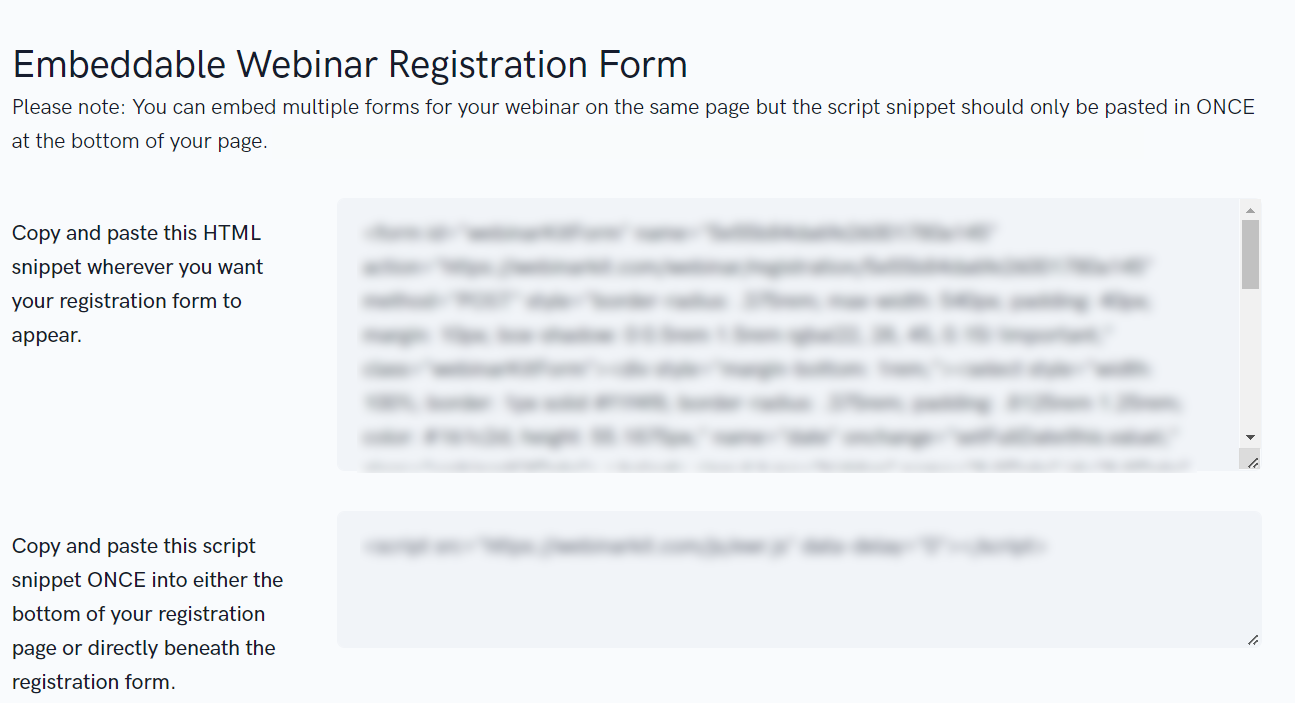
You'll want to copy the top form (the HTML snippet) and paste it into your landing page. You can place multiple registration forms onto your page if you wish (for example, one at the top and bottom of your page).
You'll also need to copy and paste the script snippet ONCE into the bottom of your landing page. Please note, you only need to paste this snippet in ONCE, even if you add multiple forms for your webinar onto your landing page.
Once the form is embedded onto your landing page or website, you'll be able to immediately start getting registrants for your webinar.
Please note: The "Embeddable Thank You Timer" form below the embeddable registration form is only meant to be used if you're using a custom thank you page.